

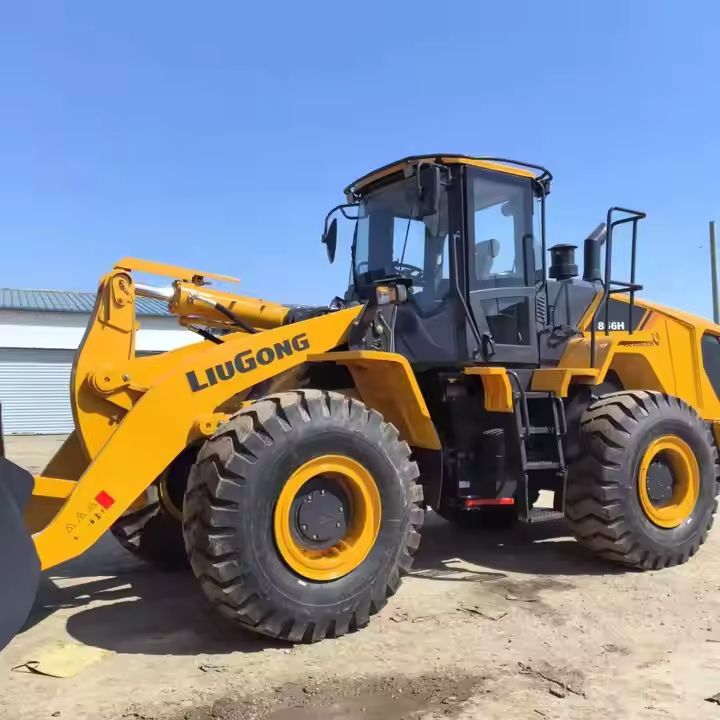
As a supplier of used shovel loaders, I often receive inquiries from customers about the maintenance and upkeep of these machines. One of the most common questions is how to change the oil in a used shovel loader. In this blog post, I'll walk you through the process step by step, sharing some tips and best practices along the way.
Why Changing the Oil is Important
Before we dive into the process, let's understand why changing the oil in your used shovel loader is crucial. Engine oil serves multiple purposes. It lubricates the engine's moving parts, reducing friction and wear. This helps extend the lifespan of the engine and ensures smooth operation. Additionally, oil helps to cool the engine by carrying heat away from critical components. Over time, oil breaks down and accumulates contaminants such as dirt, metal particles, and sludge. If not changed regularly, this degraded oil can cause significant damage to the engine, leading to costly repairs or even engine failure.
Tools and Materials You'll Need
- Oil drain pan: A large, sturdy pan to collect the old oil.
- Socket wrench set: To remove the oil drain plug and oil filter.
- Oil filter wrench: Specifically designed to remove the oil filter.
- New oil filter: Make sure it's the correct filter for your shovel loader's engine.
- New engine oil: Check your shovel loader's manual for the recommended oil type and capacity.
- Funnel: To pour the new oil into the engine without spillage.
- Safety gloves and goggles: To protect your hands and eyes from hot oil and debris.
Step-by-Step Guide to Changing the Oil
Step 1: Prepare the Shovel Loader
Park the shovel loader on a level surface and engage the parking brake. Let the engine cool down for at least 30 minutes to avoid burns from hot oil. It's also a good idea to place wheel chocks behind the tires for added safety.
Step 2: Locate the Oil Drain Plug and Oil Filter
Consult your shovel loader's manual to find the exact location of the oil drain plug and oil filter. The oil drain plug is usually located at the bottom of the engine oil pan, while the oil filter is typically mounted on the side of the engine.
Step 3: Drain the Old Oil
Place the oil drain pan directly under the oil drain plug. Use a socket wrench to loosen the drain plug, turning it counterclockwise. Be careful as the oil may start to drain immediately. Once the plug is loose, remove it by hand and let the old oil drain completely into the pan. This may take several minutes.
Step 4: Remove the Old Oil Filter
Using an oil filter wrench, loosen the old oil filter by turning it counterclockwise. Once it's loose, you may be able to remove it by hand. Be prepared for some residual oil to drip out of the filter and the engine.
Step 5: Prepare the New Oil Filter
Before installing the new oil filter, apply a thin layer of fresh engine oil to the rubber gasket on the top of the filter. This will help create a better seal and make it easier to remove the filter during the next oil change.
Step 6: Install the New Oil Filter
Screw the new oil filter onto the engine by hand, turning it clockwise. Tighten the filter until the gasket makes contact with the engine, and then give it an additional three - quarters of a turn. Do not over - tighten the filter, as this can damage the gasket and cause leaks.
Step 7: Replace the Oil Drain Plug
Once the old oil has finished draining, clean the oil drain plug and the area around the drain hole. Thread the drain plug back into the oil pan by hand, and then use a socket wrench to tighten it securely. Make sure not to overtighten the plug, as this can strip the threads.

Step 8: Add New Engine Oil
Locate the oil filler cap on the engine. Remove the cap and insert a funnel into the opening. Slowly pour the new engine oil into the engine, using the recommended oil type and capacity specified in your shovel loader's manual. Check the oil level periodically using the dipstick. Add oil in small increments until the oil level reaches the "full" mark on the dipstick.
Step 9: Check for Leaks
After adding the new oil, start the engine and let it run for a few minutes. Check around the oil drain plug and the oil filter for any signs of leaks. If you notice any leaks, turn off the engine immediately and tighten the affected components as needed.
Step 10: Dispose of the Old Oil Properly
Old engine oil is considered hazardous waste and should be disposed of properly. You can take the used oil to a local auto parts store or recycling center that accepts used oil. Do not pour the old oil down the drain or into the environment.
Tips and Best Practices
- Regular Maintenance Schedule: Follow the maintenance schedule recommended in your shovel loader's manual. Regular oil changes are essential for the long - term health of your engine.
- Inspect the Oil: Before adding new oil, take a look at the old oil that you drained. If it's extremely dirty, has a milky appearance, or contains metal particles, it could indicate a more serious problem with the engine.
- Use Quality Products: Always use high - quality engine oil and oil filters. Cheap or incorrect products can lead to poor engine performance and premature wear.
Conclusion
Changing the oil in a used shovel loader is a relatively straightforward process that can be done with basic tools and a little bit of know - how. By following these steps and best practices, you can keep your shovel loader's engine running smoothly and extend its lifespan.
If you're in the market for a used shovel loader, we're here to help. We also offer a wide range of Second Hand Construction Machinery, including Used Wheel Loader and Used Bulldozers. Our team of experts can assist you in finding the right machine for your needs. Contact us today to start the procurement negotiation process and get the best deal on a used construction machine.
References
- Manufacturer's Manual for the Used Shovel Loader
- Industry Best Practices for Construction Equipment Maintenance


