

How to Replace the Springs on a Drum Brake Axle
As a seasoned supplier of Drum Brake Axles, I've witnessed firsthand the importance of maintaining and replacing key components to ensure the optimal performance of these essential parts. One such critical maintenance task is replacing the springs on a drum brake axle. In this blog post, I'll guide you through the process step by step, sharing valuable insights and tips along the way.
Understanding the Importance of Springs in a Drum Brake Axle
Before we dive into the replacement process, it's crucial to understand the role of springs in a drum brake axle. Springs play a vital role in the proper functioning of the braking system. They are responsible for retracting the brake shoes after each application of the brakes, ensuring that the shoes return to their resting position. This prevents unnecessary friction and wear on the brake drums, extending the lifespan of the entire braking system.
Tools and Materials You'll Need
- Socket Set: A comprehensive socket set with various sizes to remove and install bolts.
- Wrenches: Both open-end and adjustable wrenches for additional fastening and loosening.
- Spring Pliers: Specifically designed pliers to handle and manipulate the springs safely.
- Brake Cleaner: To clean the brake components and remove any dirt or debris.
- New Springs: Ensure you have the correct springs for your drum brake axle. You can find high-quality springs from reputable suppliers like us.
Step-by-Step Guide to Replacing the Springs
- Prepare the Work Area:
- Park your vehicle on a flat, stable surface and engage the parking brake.
- Loosen the lug nuts on the wheel associated with the drum brake axle you'll be working on.
- Use a jack to lift the vehicle and secure it with jack stands.
- Remove the wheel to access the drum brake assembly.
- Remove the Drum:
- Locate the adjustment screw on the back of the drum brake assembly. Turn it counterclockwise to loosen the brake shoes.
- Tap the drum gently with a hammer to loosen it from the brake shoes. If it's stuck, you may need to use a drum puller.
- Once the drum is loose, carefully remove it from the axle.
- Identify the Springs:
- There are typically two types of springs in a drum brake axle: the return springs and the hold-down springs.
- The return springs are responsible for pulling the brake shoes back to their resting position, while the hold-down springs keep the brake shoes in place.
- Remove the Old Springs:
- Use the spring pliers to carefully compress the springs and remove them from their retaining clips.
- Take note of the orientation and position of each spring to ensure proper installation of the new springs.
- Clean the Brake Components:
- Use brake cleaner to clean the brake shoes, drums, and other components. This will remove any dirt, grease, or debris that could affect the performance of the new springs.
- Allow the components to dry completely before proceeding.
- Install the New Springs:
- Start by installing the hold-down springs. Use the spring pliers to compress the springs and place them in their retaining clips.
- Next, install the return springs. Make sure they are properly seated and connected to the brake shoes.
- Double-check the orientation and position of each spring to ensure they are installed correctly.
- Reassemble the Drum Brake Assembly:
- Place the drum back onto the axle and align it with the brake shoes.
- Turn the adjustment screw clockwise to tighten the brake shoes against the drum.
- Reinstall the wheel and tighten the lug nuts to the recommended torque specification.
- Test the Brakes:
- Lower the vehicle from the jack stands and remove the jack.
- Start the vehicle and test the brakes to ensure they are functioning properly.
- If you notice any issues, such as a spongy brake pedal or uneven braking, have the system inspected by a professional.
Tips and Precautions
- Safety First: Always wear safety glasses and gloves when working on the brakes to protect yourself from any potential hazards.
- Follow the Manufacturer's Instructions: Refer to the vehicle's service manual or the instructions provided with the new springs for specific guidance.
- Inspect Other Components: While you have the drum brake assembly apart, take the opportunity to inspect other components, such as the brake shoes and drums, for wear and damage. Replace any worn or damaged parts as needed.
- Proper Torque: Use a torque wrench to tighten the lug nuts and other fasteners to the recommended torque specification. Over-tightening or under-tightening can lead to problems.
Related Products and Services
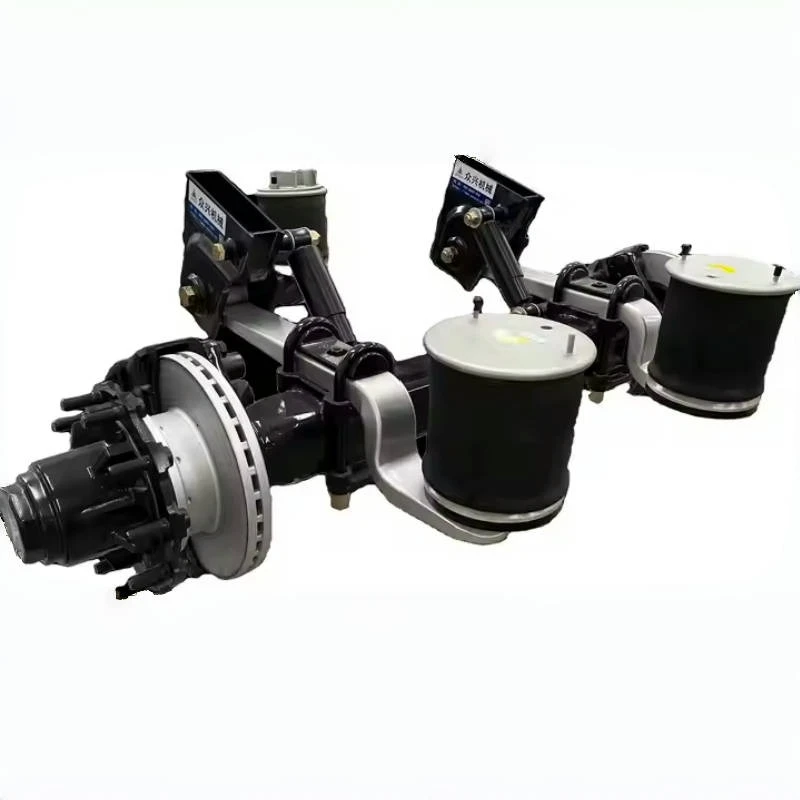
At our company, we offer a wide range of high-quality products for drum brake axles and related systems. In addition to springs, we also supply 13T Axle, Trailer Air Suspension, and Heavy Suspension. Our products are designed to meet the highest standards of quality and performance, ensuring the reliability and safety of your vehicles.
Contact Us for Your Procurement Needs
If you're in the market for drum brake axle components or have any questions about the replacement process, we're here to help. Our team of experts is available to provide you with personalized advice and assistance. Contact us today to discuss your procurement needs and explore how our products can enhance the performance of your vehicles.

References
- Automotive Service Excellence (ASE) Study Guides
- Vehicle Service Manuals
- Manufacturer's Instructions for Drum Brake Axle Components


